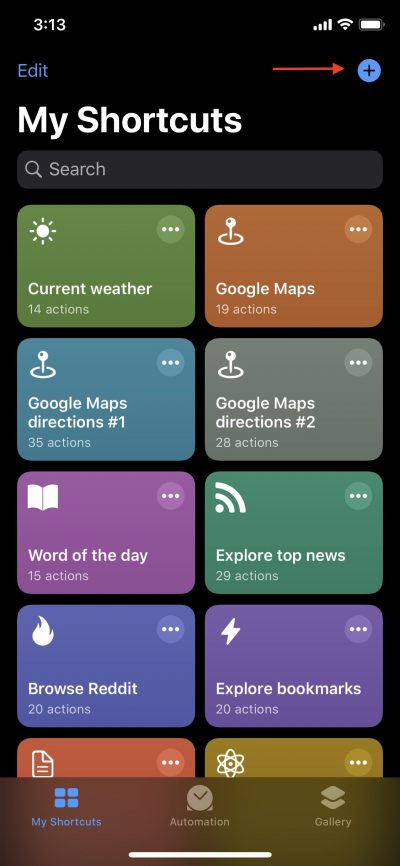
Shortcuts app for iOS is a very useful way to automate your iPhone or iPad. Last week, we looked at creating a simple RSS reader using the app. But that’s not the only thing Shortcuts is good at. Another shortcut that can come in handy is sharing your Wi-Fi password as a QR code. Here’s how you can do it. Disclaimer: The screenshots below correspond to Shortcuts app for iOS 13 Beta 2. But the steps you need to follow are exactly the same. Step #1: Download the Shortcuts app from the App Store, if you haven’t done so already. Step #2: Open the app, and in the My Shortcuts (Library in iOS 12) tab, hit “+” on top to create a new shortcut.
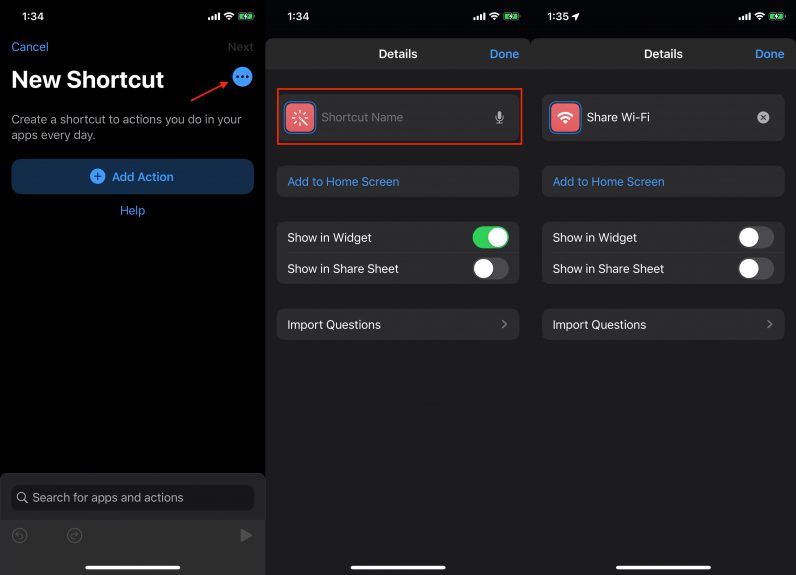
Step #3: Tap the “Settings” icon, and give the shortcut a name, for example, “Share Wi-Fi.” You can also tap the “Icon” to change it to something that matches your shortcut’s function better.
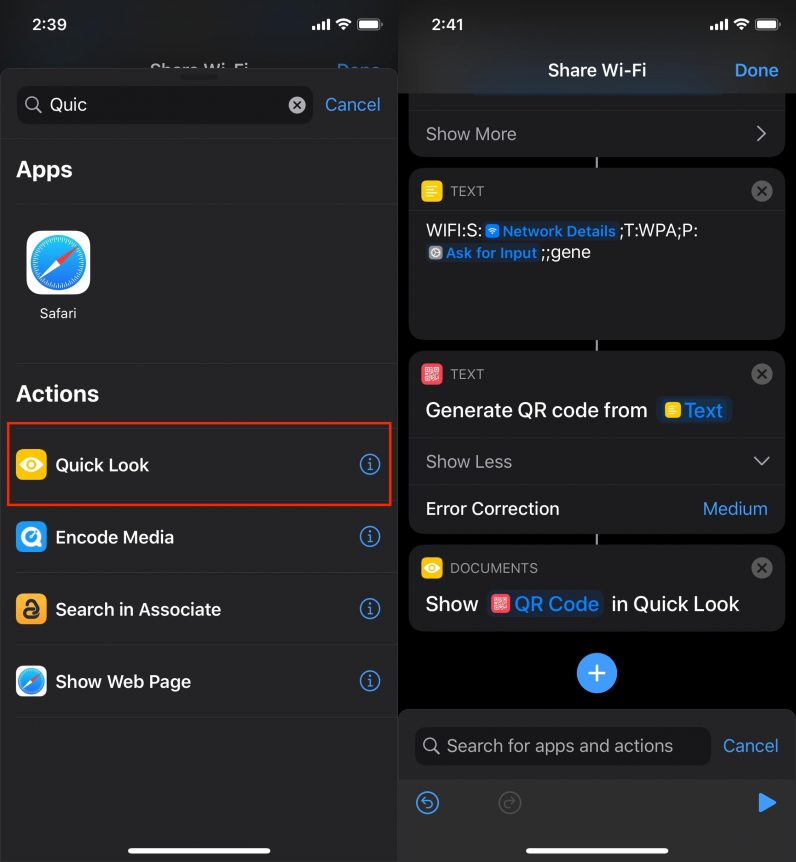
Step #4: The first step is to get the network details. You can do this by adding the “Get Network Details” action. Since it’s Wi-Fi, you need to select the “Network” as “Wi-Fi”, and in the “Get” field, select “Network Name.”
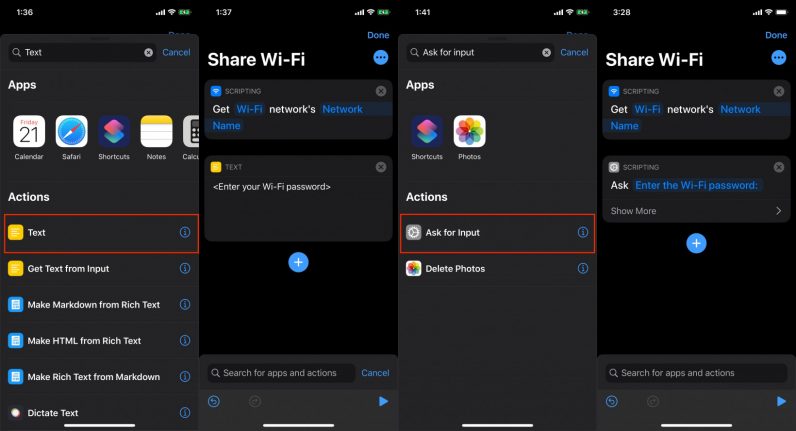
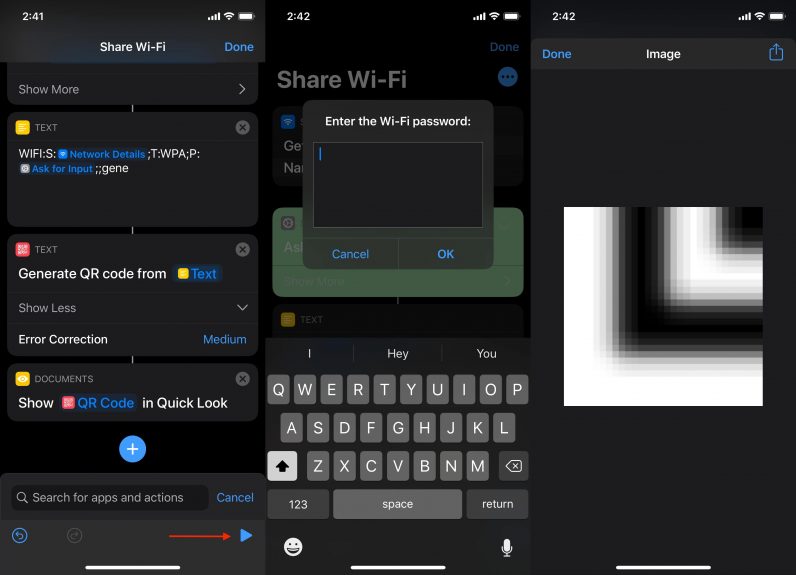
Step #5: The next step is to provide the corresponding password. This can be done in a number of ways. You could write out the Wi-Fi password as text. If you want to do this, you’ll need to add a “Text” action, and then the password. Alternatively, you could make the shortcut prompt you to enter the password every time you run it. To do this, you can add an “Ask for Input” action. In the “Ask” field, you can specify the question, for example, “Enter the Wi-Fi password.”
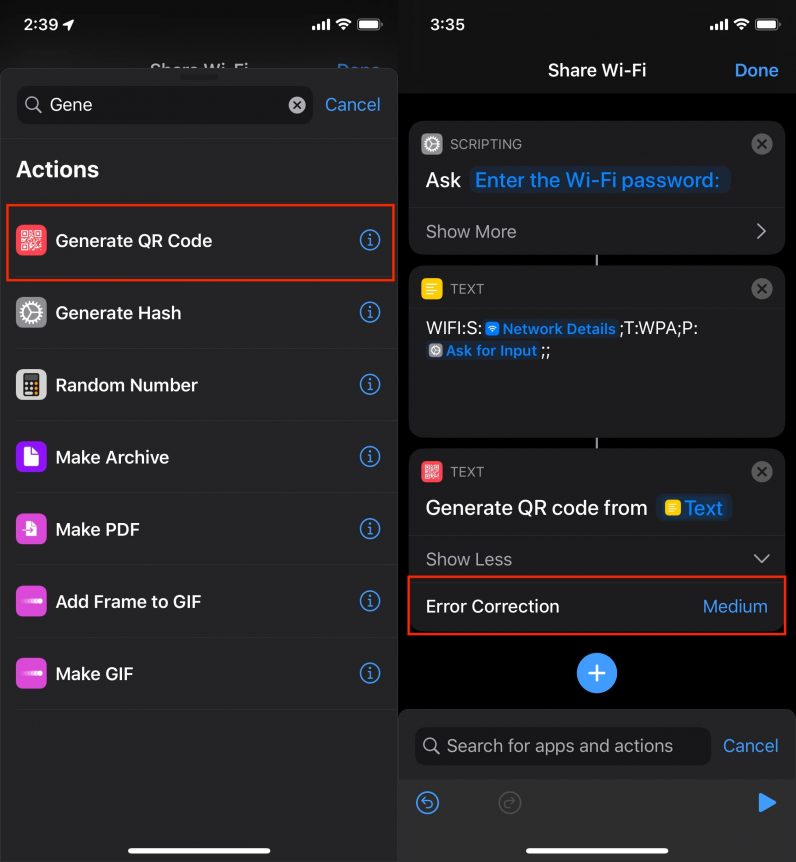
Step #6: In order to generate QR code for a Wi-Fi network, you’ll need to create a new string that follows the following format: WIFI:T:WPA;S:
Step #7: Once you have created the string, you can generate the QR code using the “Generate QR Code” action. You can also specify the “Error Correction” option to Low, Medium, Quartile, or High, which will give you the option to fine-tune the capability to restore data if the code gets damaged.
Step #8: Next add a “Quick Look” action to preview the output. This will allow you to view the generated QR code.
Step #9: The shortcut is complete. You can now run the shortcut by hitting the “Play” button. In iOS 12, it’s located on top.